You dream it. We deliver it.
Addhen is a mobile application development company based in Accra, Ghana with office in Berlin, Germany. We are experienced in Mobile app development, Web applications and more.
Addhen was started by Henry Addo. A former software engineer at Ushahidi.
Feel free to engage us.
Contact Us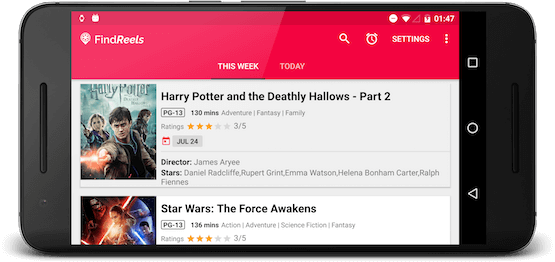
What We Do
Addhen specializes in developing apps for the Android platform: for phones, tablets, and wearables. We are able to turn your static mockups into functional apps. We can create your app from the ground up, port it from a different platform, or help maintain and improve existing Android apps.
We value direct communication, a pragmatic approach to problem solving and providing a quality consulting service.
Interested to know more about what we can do for you or your business? Reach out to us at support [at] addhen.com